Anthony Skirvin shows you from start to finish!
by Anthony Skirvin
First thing, with screen printing, there is a bunch of different ways to achieve the same end result. What I am showing you here is only one way that I print posters, so this should be a considered an introduction, but know that there are plenty of different methods out there that will work just as well.
Beginning: Making your Film Positives
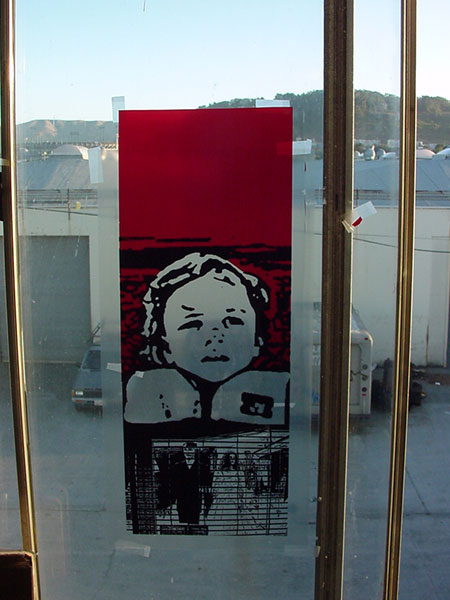
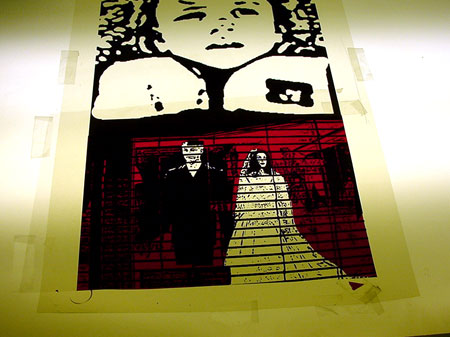
1) Make a 1-to-1 film positive. A 1-to-1 film positive for screen printing is an exact-sized reproduction of your artwork on a clear transparency (or film positive). There are a few ways to do this; the most expensive is to have a film outputting shop do this for you (pictured). A cheaper way is to go to Office Depot and buy some clear black/white transparencies that will print from your ink jet printer or a photocopier. Transparencies from ink jet printers tend to be a little bit light for screen printing, and the ink toner has a tendency to come off after you burn your first screen, (not so good if you want to reburn your image a few times) but its pretty cheap and works well. Transparencies for photocopiers seem to work a bit better if the copier is any good. The toner seems to stay on the transparencies a lot longer.
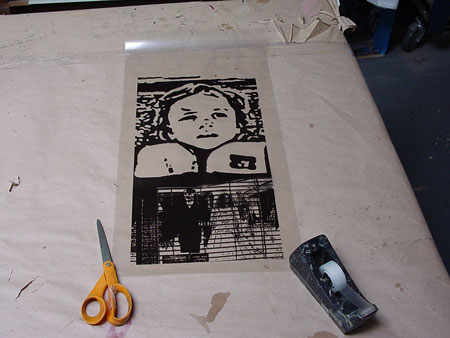
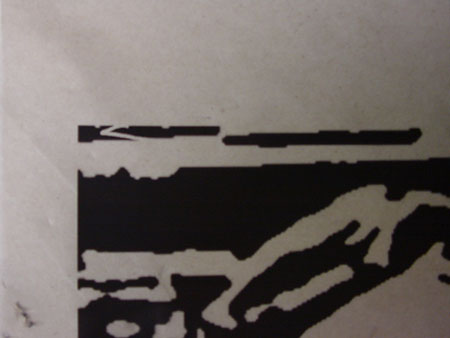
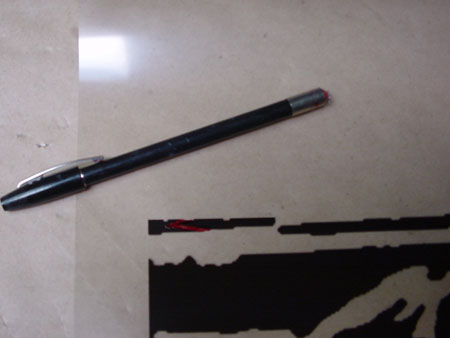
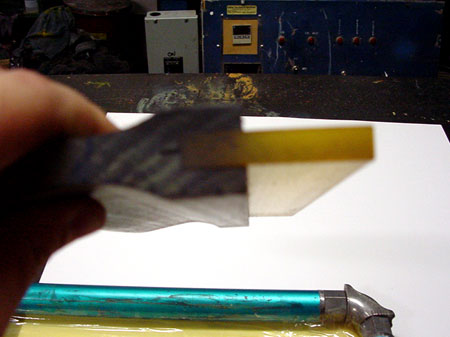
2) Check your film positive for mistakes. If you find a mistake (pict), you can fill in the mistake with a Rubylithe pen (pict). You can get these pens at a screen printing supply house and at some art stores. Theyre about $5 a pen, and if you have drawing skills you can use them to just draw your design (art) right onto clear transparencies and skip the step above.
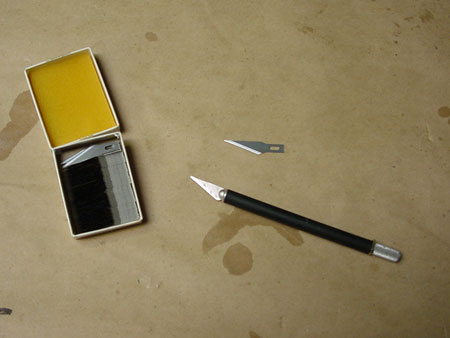
3) Making fill colors or background colors (separations). You can do this on the computer if you have skills, but this is how you do it by hand. First you get some Rubylithe. (You pretty much have to get this at screen printing supply house, art stores used to carry it, but not so much any more.) Rubylithe is a two-ply paper that blocks UV light acting the same way as black toner works on your photocopied transparencies. You use an X-Acto knife to slice the red part away from the clear part. The red part is where is where the ink is going to print once you burn a screen. (Nerdy computer geek side note: In Photoshop if you ever jump to Quick Mask Mode, the default color is red to mimic Rubylithe.)
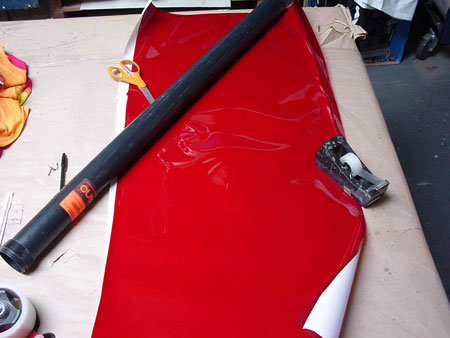
Next, you need to figure out how much Rubylithe you are going to need for the section that you want to color in. Lay the Rubylithe out on a table, measure up, cut easy. (Rubylithe is around $50 a roll and doesnt last long.)
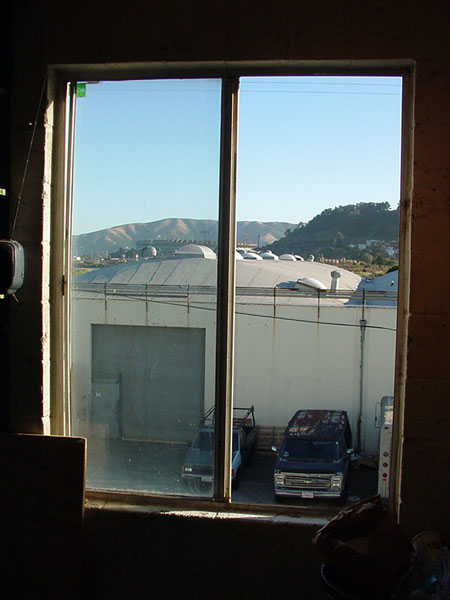
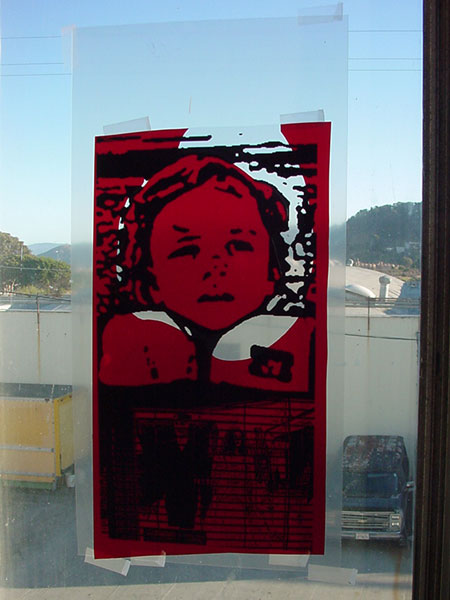
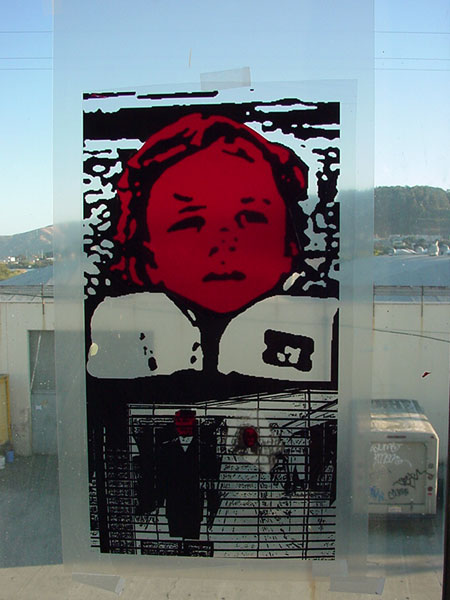
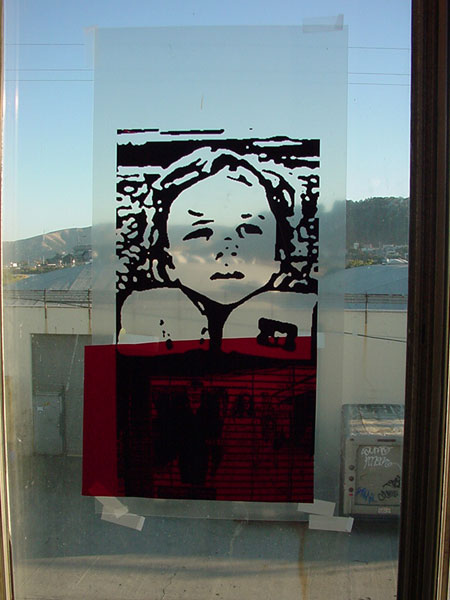
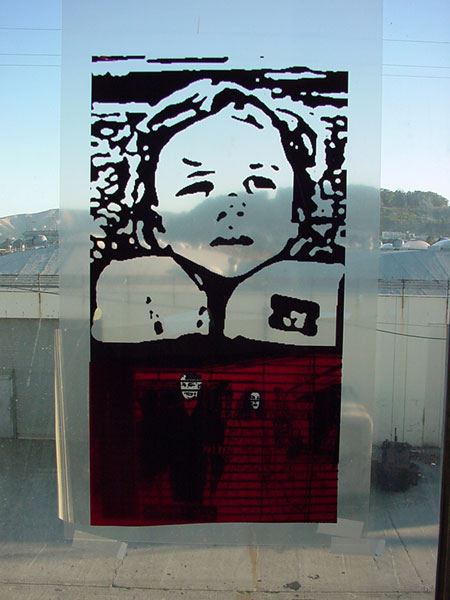
To make your fill colors, you should have a light box so that you can see through the Rubylithe to your original transparency. If you dont have access to a light box, you can always use a large window during the day:
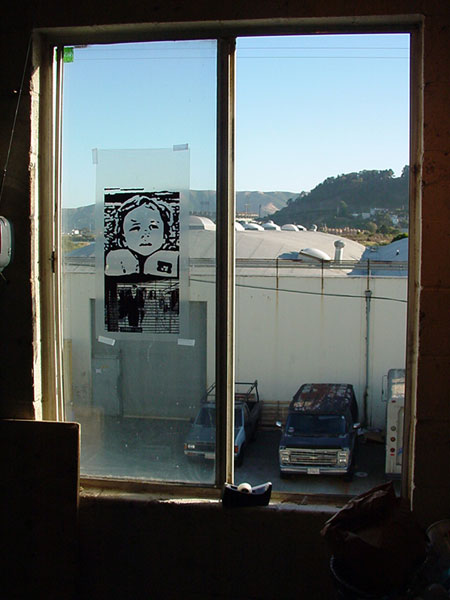
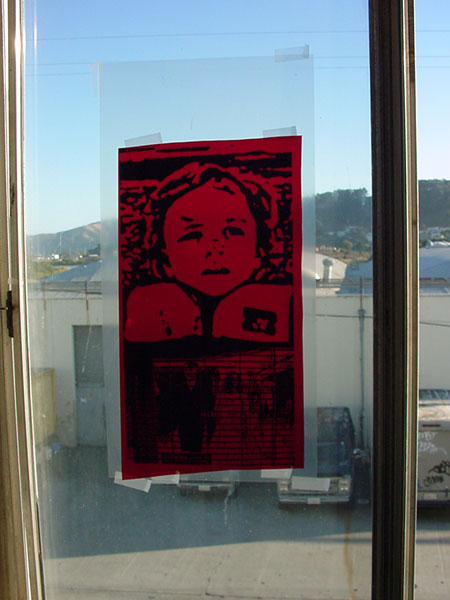
Now start gently slicing the outline of the part that you want to get rid of. Be careful not to cut through the clear backing of your original film positive. You want your background to be TRAPPED under your detail so the lines of the fill color dont really show up or they show up as little as possible. That is called trapping. Trapping is legit on poster printing, but not really legit with t-shirt printing (but that is a different story). So, once you slice an outline, use your fingernail or the X-Acto to pull back the Rubylithe that you dont want. The red part that is left will end up being whatever ink color you choose. Im going to use a light tan
or what used to be called Flesh in a 64 pack of Crayola crayons
wtf. Anyway, take that piece down and put up a new piece of Rubylithe and repeat the process until all your colors are cut and your separations are complete.
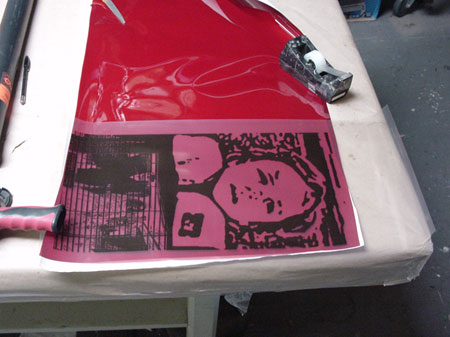
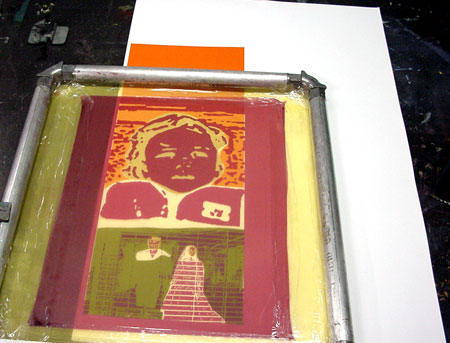
first color sep
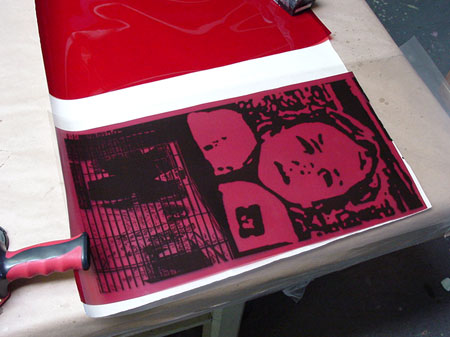
3rd color sep
Burning a Screen
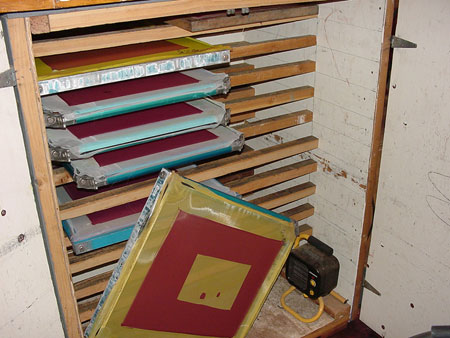
Silk screens are actually made up of a meshed piece of fabric (not really silk anymore) that is attached to a wood or metal frame. Frames come in about any size that you want. The frame that is pictured allows you to stretch your own mesh over and over again easily. You buy a bulk roll of fabric and when the fabric breaks (which it will do at some point), you loosen up the bolts, add a new piece of mesh and tighten that mother down. Most frames that you buy at stores have the mesh glued onto a wood or metal frame. Both frames really do the same thing, it is just that re-stretchable frames will cut costs down if you break a lot of screens or do a lot of screen printing.
The mesh that goes onto a frame is pretty important. It comes in a lot of different sizes and depending what you are printing, picking the right mesh count could make a pretty big difference. Mesh ranges from 40 to 355(super fine detail). The lower the mesh count (i.e. 60 mesh) the more ink that you are going to be able to put down in one pass, but the trade off is that you wont be able to get a lot of detail and your ink drying time is going to be a bit longer
think of 60 mesh like the way a screen door is, where you can actually see the individual squares. With a higher mesh count screen, like a 230 mesh count, you wont be able to see the individual squares that easily, but you will be able to get a lot more detail with less of an ink deposit. But if you are using water-based ink or oil-based ink, you run the risk of having the ink dry in the screen
which is a total pain in the arse. For posters I would suggest either using a 110, 137, or 156 mesh count.
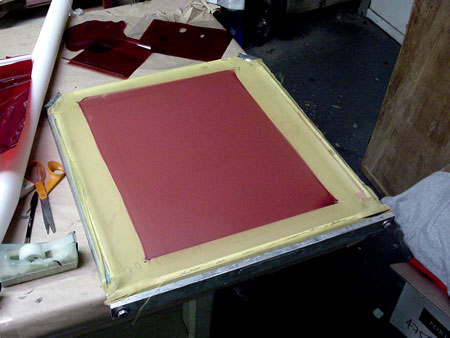
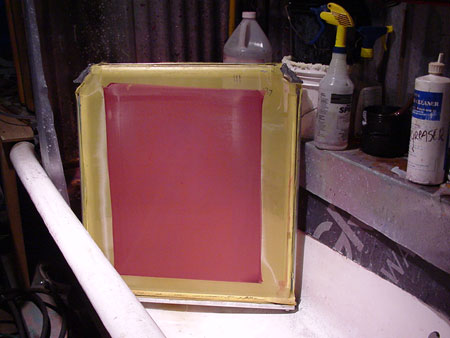
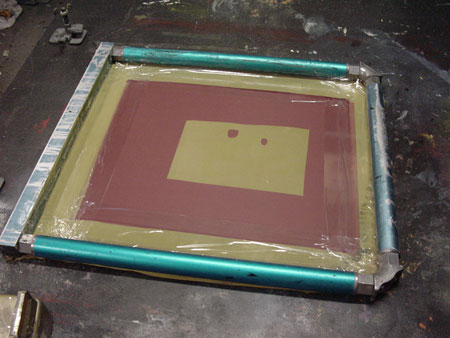
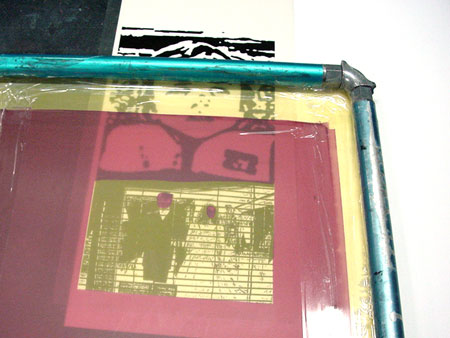
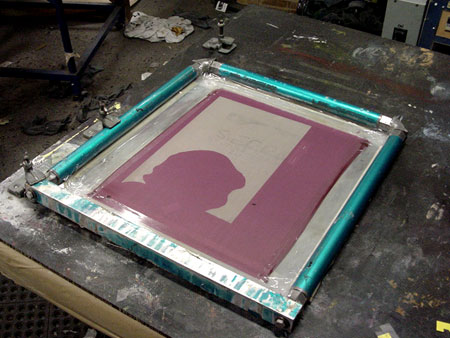
When you buy a new screen, the first thing that you need to do is clean the mesh. The factory that makes the mesh always leaves some sort of crud on the mesh that will screw up your first coating of emulsion. Use any kind of degreaser (i.e. Simple Green) and a scrub brush to clean it. Spray the degreaser on the mesh and gently scrub for a bit, then rinse it off with water and let it dry. After your screen dries, coat the screen with photo stencil emulsion. Put it on kind of thin, but not too thin and let it dry (this is the red stuff on the mesh-pictured). Note: Emulsion is light sensitive, so you want to keep it out of direct sunlight as much as possible. I used to let screens dry underneath my bed or in the closet.
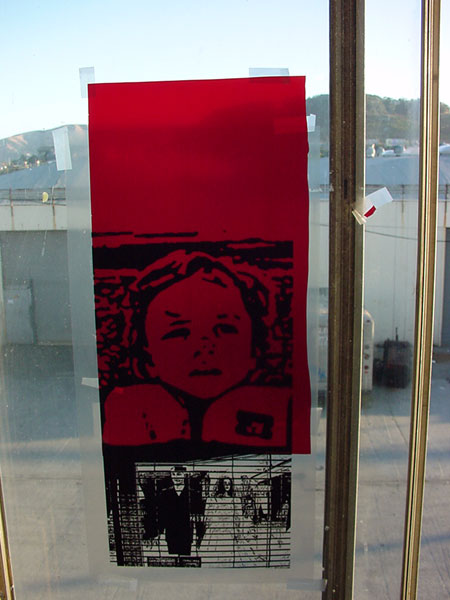
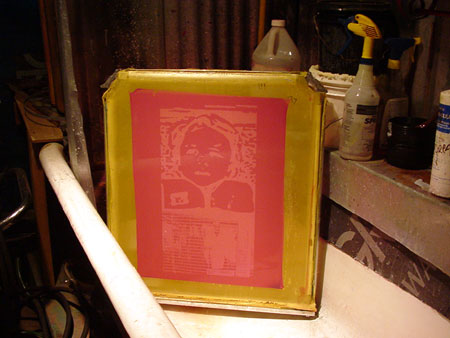
Once the emulsion totally dries, your screen is ready to be burned. Place your film positive on the screen. The way that you do this depends on how you burning the screen, but the stacking order is always the same: light source ->film positive ->silkscreen frame. Sometimes your light source is on the bottom, so your film goes on the back (like mine). If the light source is above, your film positive will go on the front.
1. Place the film positive on the screen where you want it and tape down the corners.
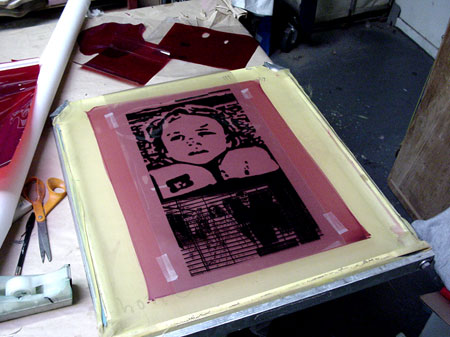


Once the screen is burned, rinse the screen off with water. I spray it down and let it sit for a second, and then come back and rinse everything out. ---What is happening here is that the black toner and/or Rubylithe from your film positive is actually blocking the light from the exposure unit. The part that isnt blocked is harding into the screen from the light. When you are rinsing the unexposed/blocked part, you are making a negative of your artwork, then when you print it, you will be making a positive again. Like this: film positive(+) to mesh(-) to your paper(+).
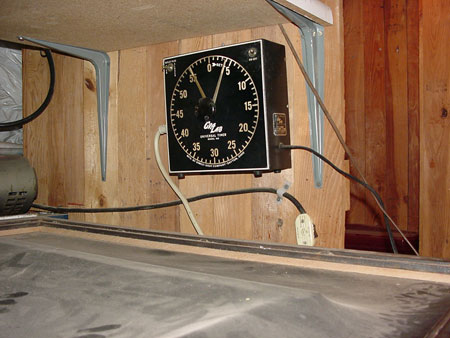
An exposure unit can be a little expensive to buy right off the get go, but there are more ways than one to get around that. One way is to have a screen printing shop do it for you. Another is to rig up some lights and just DIY. Personally, I did this for years. I used to take two kitchen chairs, lay a broomstick on top of them and hang two painters lamps from the middle of the broomstick. I used 200-watt light bulbs in the painters lamps and would lay the silk screen on the floor with books under the corners to keep the screen off the floor. Instead of the vacuum unit thing, I just had a piece of glass cut that would fit the inside of the silk screen frame. I sandwiched the film positive between the glass and the silk screen, then centered the lights over the frame and burned for about an hour. The most important thing is making sure the distance between your light bulb and your film positive is the same so you can figure out your burn times. I used to keep mine at 20 inches. If you try this and everything washes off, you didnt burn the screen long enough. If you cant get the emulsion out of the screen, then you burned too long. Using higher-powered light bulbs can mean a shorter burn times and vice versa. It may take some experimenting. Another way to burn a screen is to just leave it out in the sun. Spray Tack your film positive onto the front and cover the backside of the frame with something dark. Reflections will screw you up. You could tape a black garbage bag to the back of the frame and that should work. As far as how long you should burn the screen, well, it depends on what kind of day it is. The bottom line is that you are going to have to fool with this for a bit to get it right.
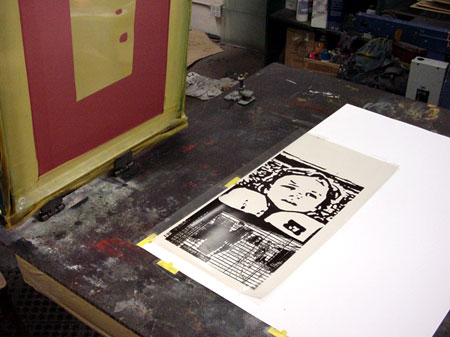
Printing the Poster
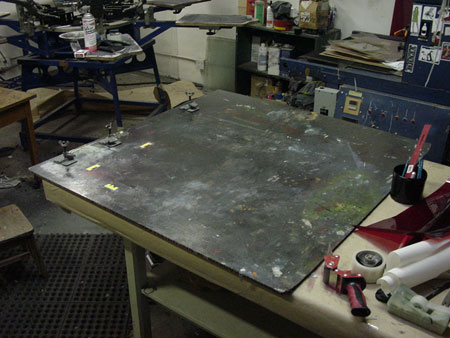
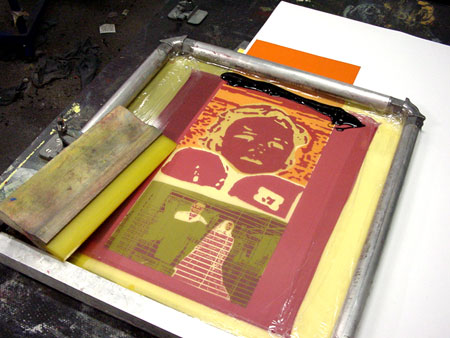
Things youll need: a smooth board/surface, hinge clamps, registration tabs, lightweight Spray Tack (if needed), a squeegee, and some ink.
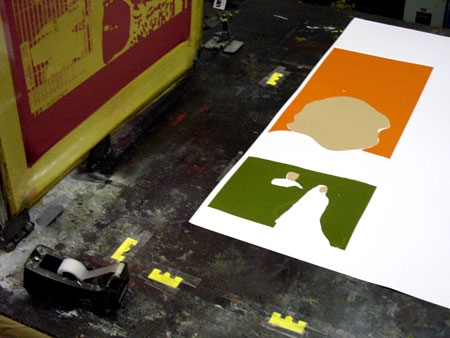
The first thing you need to do is set yourself up in a printing area with a smooth printing surface, and some hinge clamps to hold the screen in place. The printing surface can be a board or anything smooth with a surface space a bit larger then your biggest screen. I use a smooth board that I can move around with the hinge clamps bolted on one side. The hinge clamps have holes in them for bolting/screwing them into your board and cost about $25 for two. Note: You can actually just screw the hinge clamps onto the top of a smooth table, but I didnt do that because I like to have everything out of the way when Im not using it. Also, I have 3 hinge clamps on my table, because I use all different sizes of screens. You need to have at least 2 hinge clamps on your screen, but sometimes if Im using a smaller screen, it wont reach to the furthest clamp so I added a third.
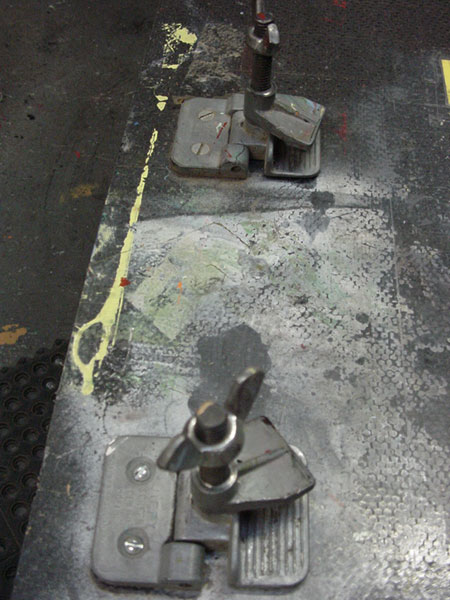
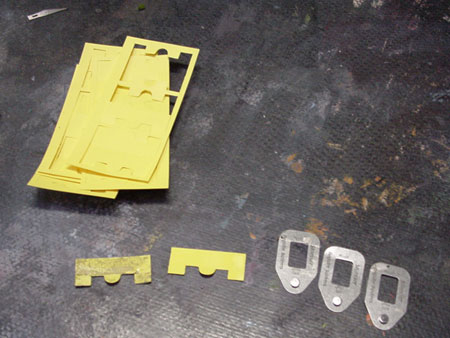
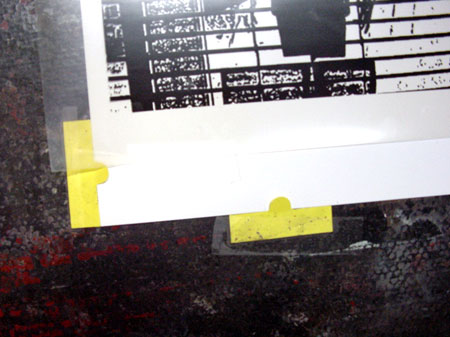
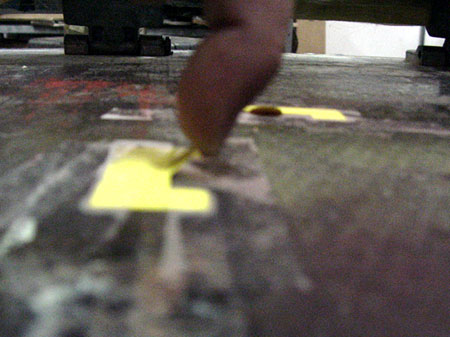
Next you need registration tabs, pins, etc. Basically, the job of a registration tab is to keep all your sheets of paper in the same spot for the entire run of your print. This way, when you go to print a second/third/fourth color/etc, everything lines up.


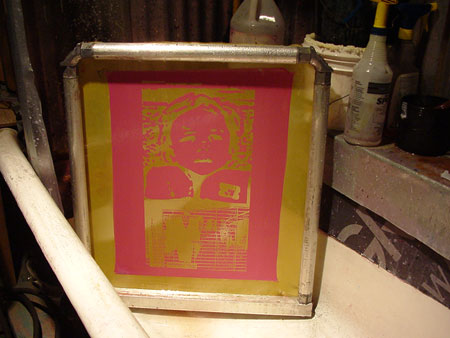
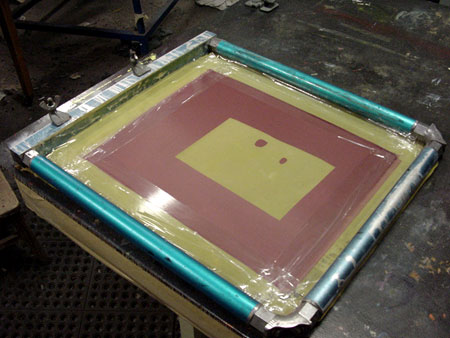
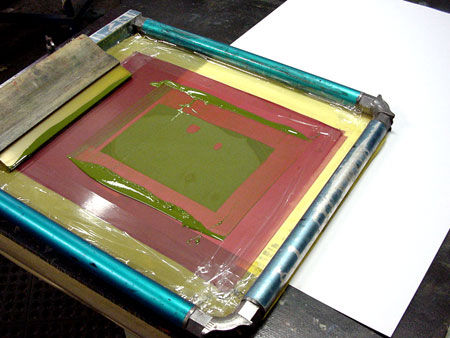
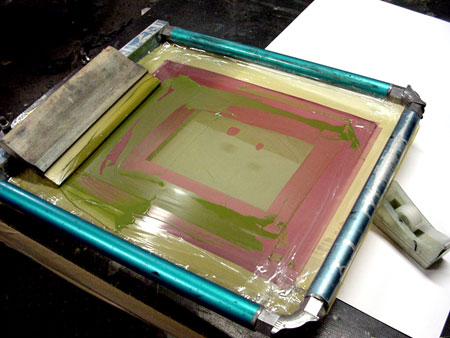
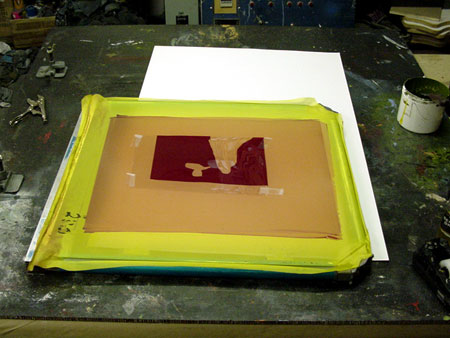
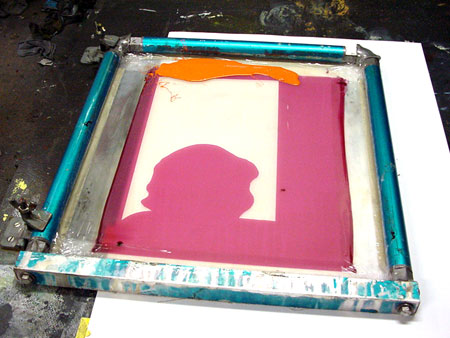
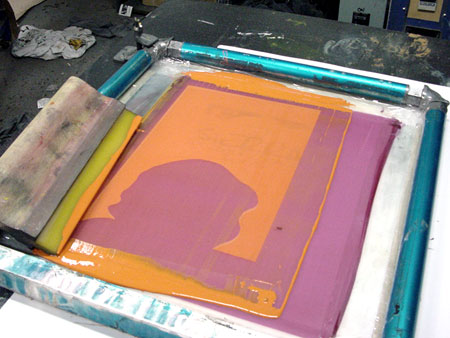
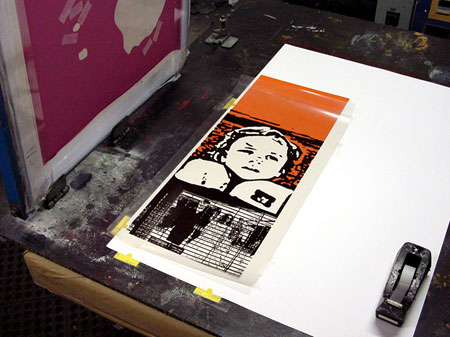
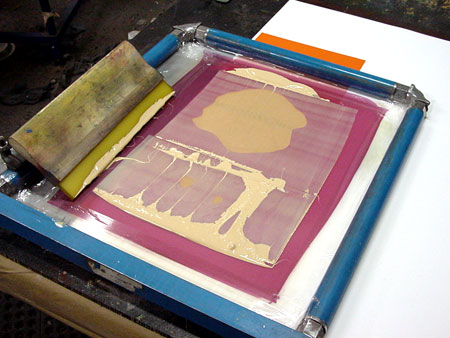
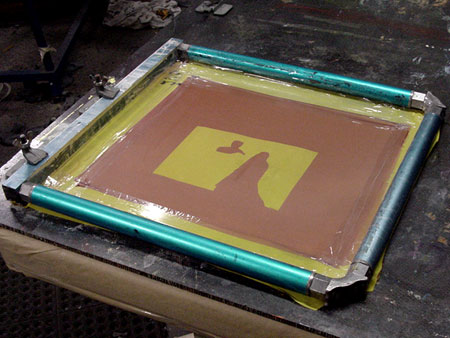
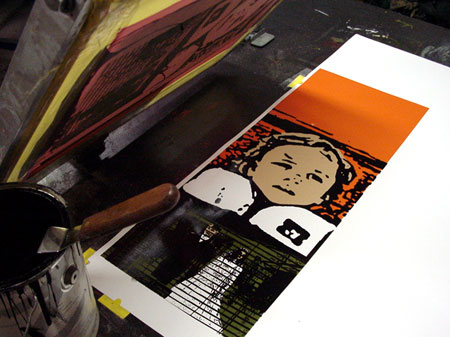
Alright, back to printing the poster. Grab your screen and tape up the part of your screen where there isnt emulsion (the yellow part on the picture). This prevents ink from going through the screen in the unwanted areas.

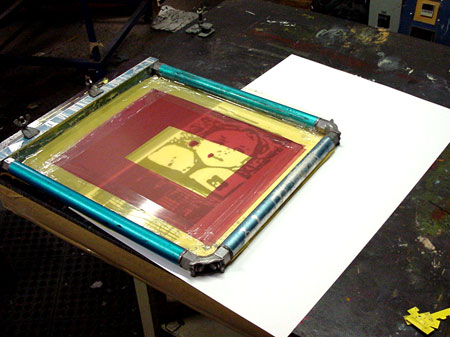
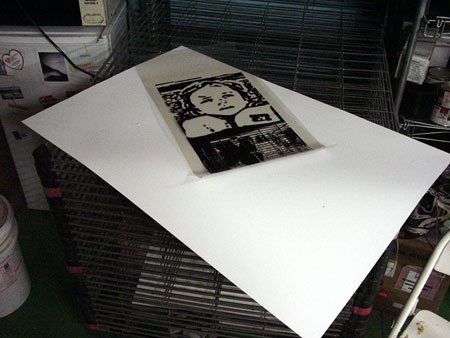
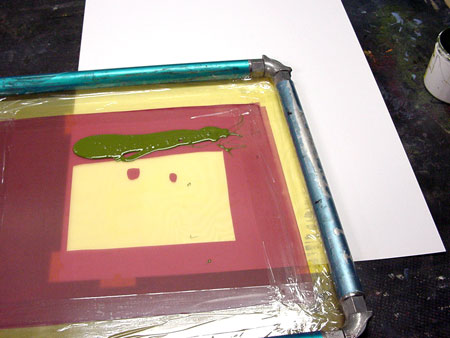
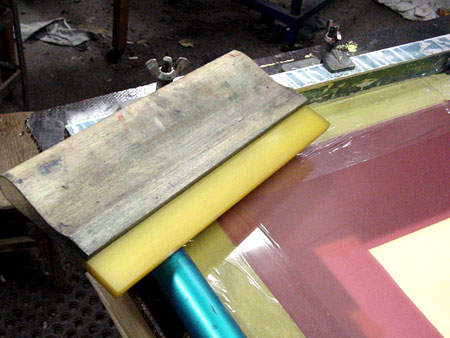
Now print your first print ...

Now you can clear off the table and un-tape the registration tabs.
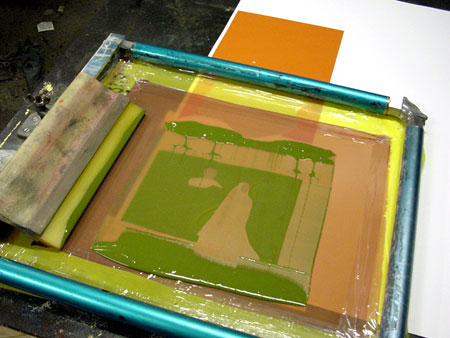
Print your stack of paper.
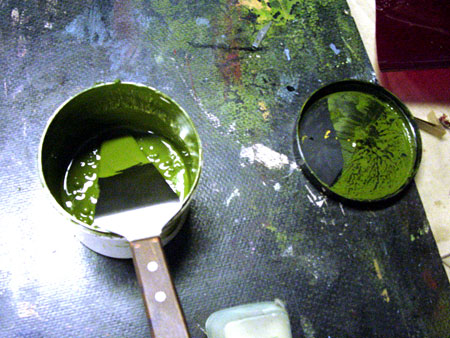
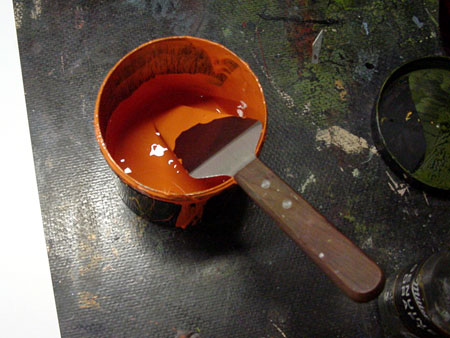
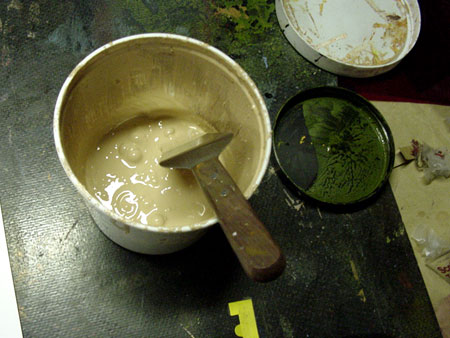
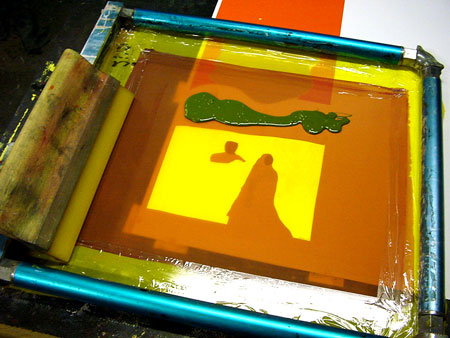
Mix the next ink color (skin color).
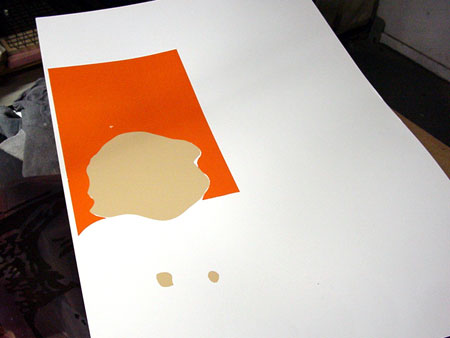
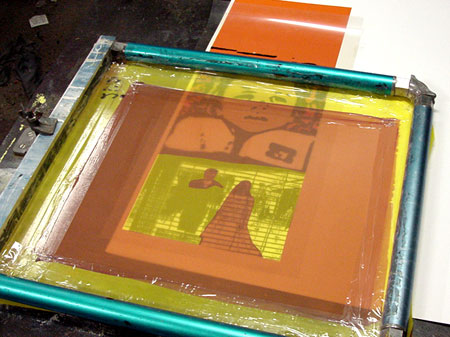
Lock in the next screen. Tape the film postive up on a blank piece of paper again. Line up the paper to the screen and tape down the registration tabs.
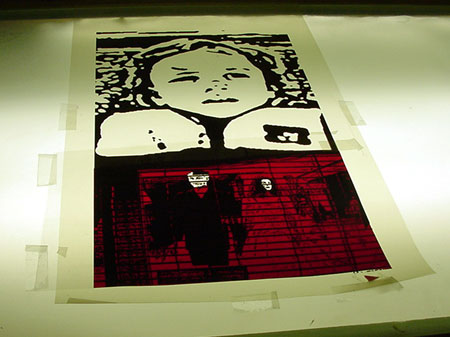
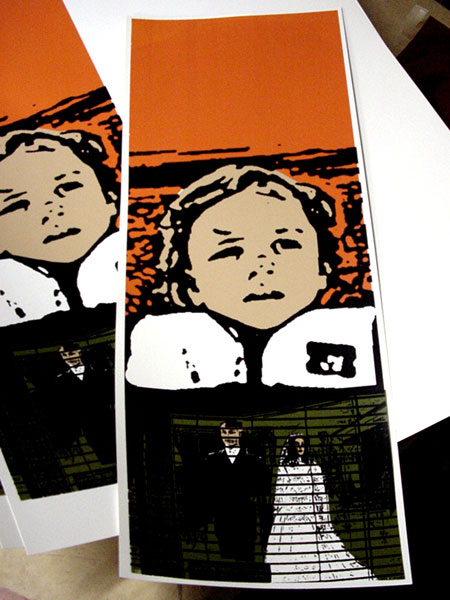
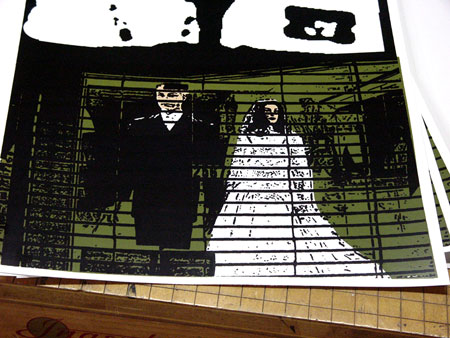
Last Color (black)
Most of the time youll want to print black last because it will cover any trapping that you have done with your film separations. If it isnt black, it would most likely be the darkest ink color or the film positive that has the most detail, this isnt a rule or anything, but
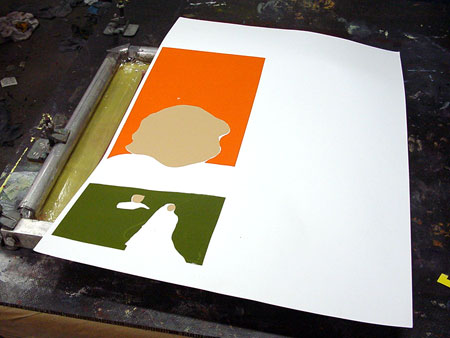
Also, when you first start printing a poster, I think that its easiest to use a medium color first, like the green
that is what I was going to do until I fucted up. Also, using the green or orange color on this design first ensures that the left-hand border of the paper will be straight with the skin color in register, meaning if I printed the skin first, I might have run the risk of getting that left-hand border off a bit when I printed the other colors.
Anyway, set up the last color the same way as the other colors. If you did everything right, you should be good to go.
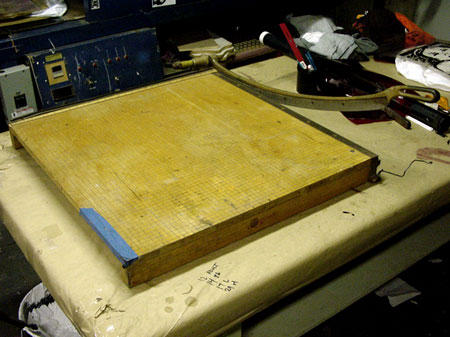
Now, take out your paper cutter/straight edge/ scissors or whatever and cut the posters down. One of the reasons that I printed this poster so close to the edge is so that I can use the other side of the paper for something else like a drawing of a puppy jumping over a rainbow.
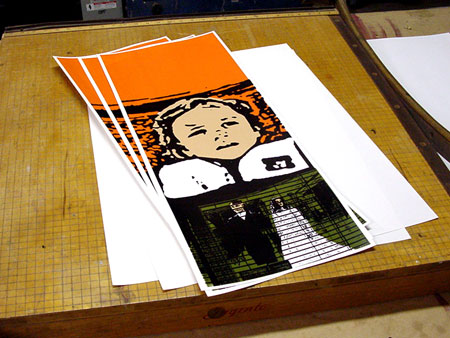
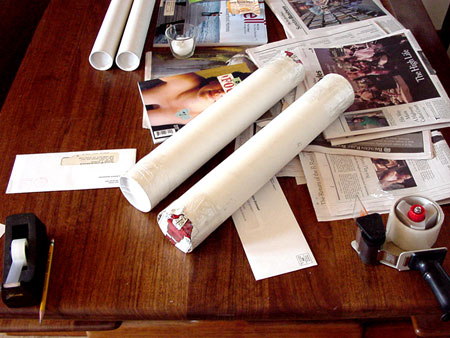
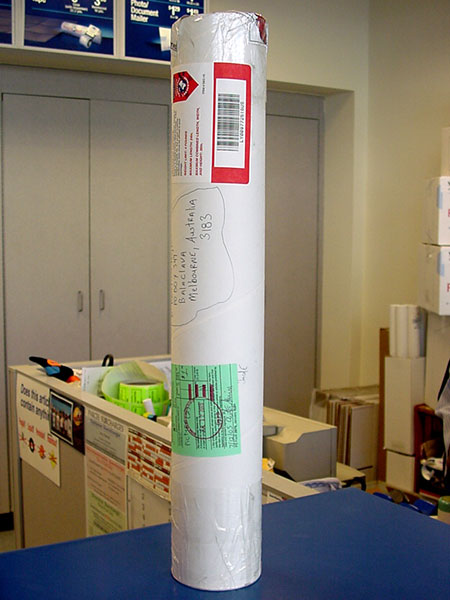
After you have sized your poster, roll it up, grab a couple mailing tubes, slip the posters inside the tubes, and
-anthony skirvin 7/26/05
{moscomment}
| < Prev |
|---|